
Once you activate the plugins (Event Single Page Builder Pro and Elementor), you can create the Elementor based template for the organizer.
1.) Go to the menu Events Addons >> Event Page Templates.
2.) Click on the Add New Template button to create a new template.
3.) Add a template name.
4.) Now select the settings under main settings.
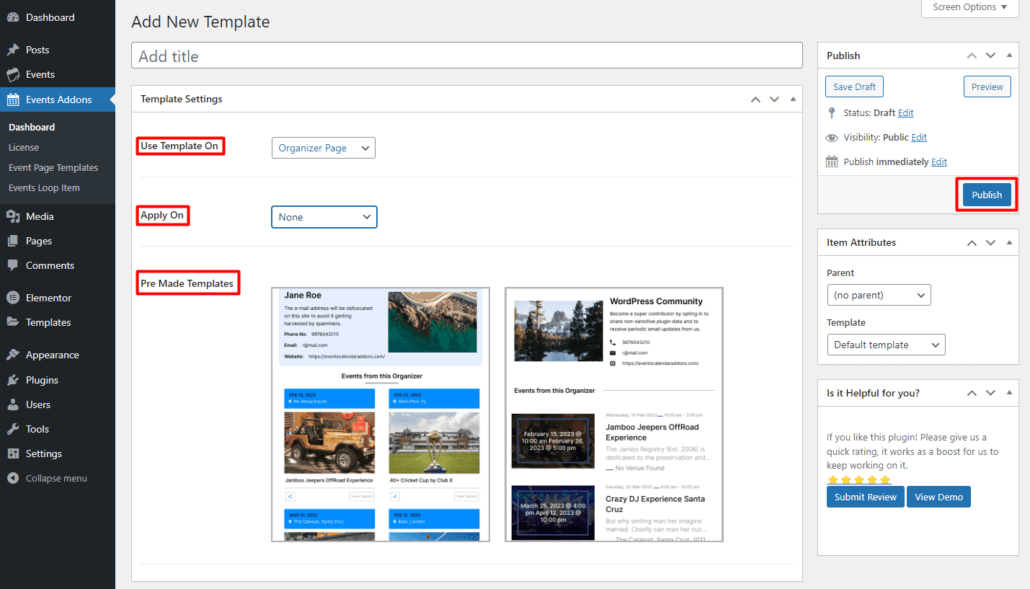
5.) Use Template on: This setting will help you apply the template to an event single page, category page, venue page or organizer page.
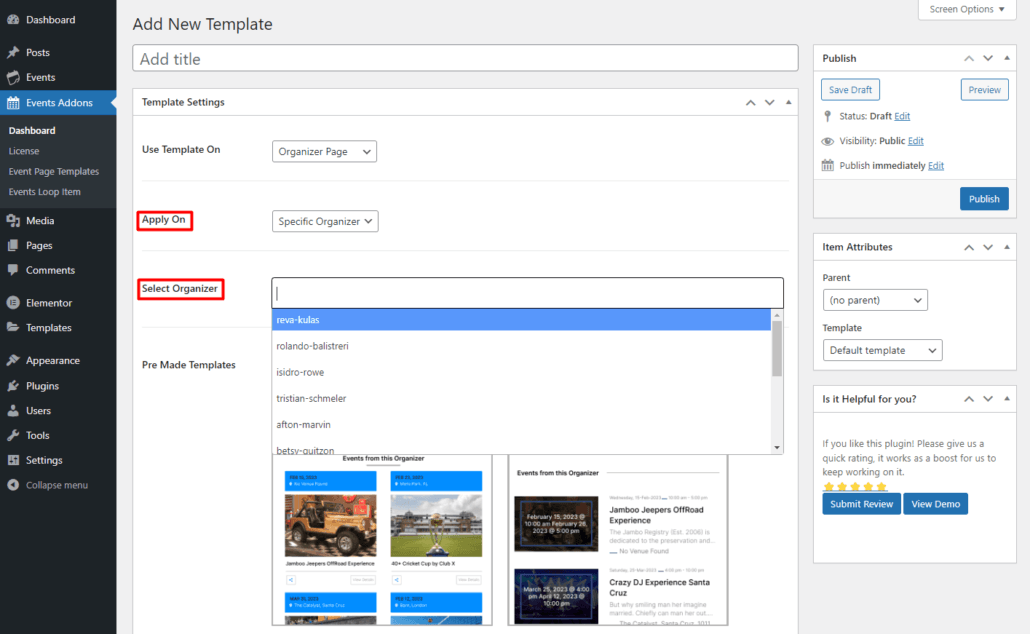
6.) Apply on: This setting will help you apply the template to all organizer or specific organizer. With the help of this setting, you can apply multiple templates to multiple organizer pages. Let us see in detail:
- All Organizer : Selecting this option will apply this template to all the event organizer pages.
- Specific Organizer : Selecting this option will apply this template to the specific organizer pages that you’ve chosen. Once you select this, the Specific Organizer Setting will be enabled. This setting allows you to select multiple organizer to which you want the template to be applied.
6.) Pre-made Templates: The plugin comes with 2 pre-made templates for organizer. Note: Events Widgets Pro must be installed for pre-made templates.
7.) Once the settings are selected, click on the Publish button.
8.) A dialog box will appear.
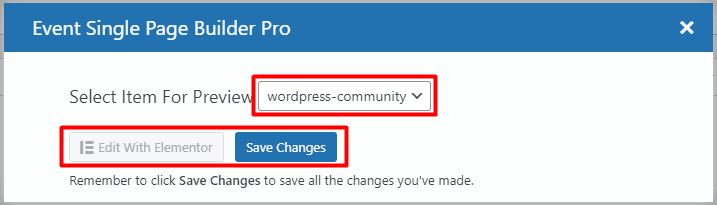
9.) Select Item For Preview: This setting will help you select the organizer that you want to preview for the template. Selecting a template will give you a real idea of how your organizer template will look like.
10.) Save Changes: Clicking on this button will save the organizer data in the template.
11.) Edit With Elementor: This setting will take you to the Elementor editor, and it will help you edit the template or view the template based on the organizer you selected in preview. If no template is selected, then it will give you a blank template so that you can design from scratch.
12.) If you don’t want to edit the template, you can close the dialog box by clicking on the cross sign on the top right.
Now your template is published and saved. You can view the template for the selected organizer or all organizer, whatever you have selected, under the Apply On setting.